


Create Elastic File System:
Steps-
Create File system
Provide name > Create
Select File System ID > Go to Network > Verify if its having Default Security group

Create 3 instances with different flavors of Linux.

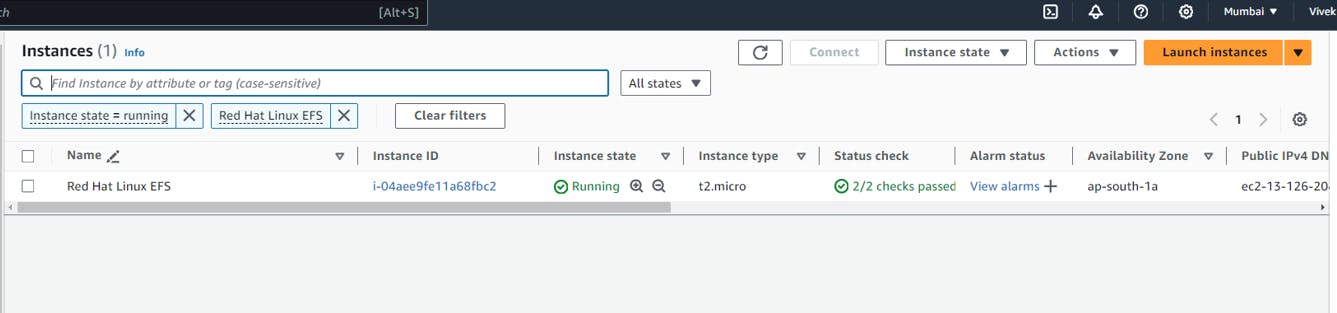
Create a AWS instance with Red Hat Linux AMI -
Steps:
1.Launch instaces
2.Provide instance name
3.Select Amazon machine Image as Red Hat(make sure you are selecting th efree tier )
4.Architecture(64-bit(X86))
5.Select the instance type t2.micro (Free tier)
6.Generate a new Key pair (RSA > .Pem)
7.Network Settings (default)
8.Configure Storage(Default)
9.Launch Instance.
10.Go to Instance ID > Security > Select Security Group >Inbound Rules > Edit Inbound Rules >Delete existing rule
11.Add New rule >All Traffic > Anywhere-IPV4 > Save Rules:

12.Connecting to the instance
- Select the instance > Connect to instance > SSH Client > Copy Example link
2.Go to system & launch CMD (Run as a admin)
- $ cd \
4.$ cd \users\admin\downloads
5.Paste the example link (right click) > enter > sudo yum update -y

Step 1: Downloading and Installing
Yum package manager is used to install nfs-utils package. “nfs-utils” includes all the needed services to build your NFS server.
$ sudo yum install -y nfs-utils

Step 2: Enable and Start NFS Server
Start the nfs-server and enable to make them bootable on the next reboot.
$ sudo systemctl enable rpcbind
$ sudo systemctl start rpcbind
$ sudo systemctl enable nfs-server
$ sudo systemctl start nfs-server

Step 3: Shared directory
Create a directory
$ mkdir EFS

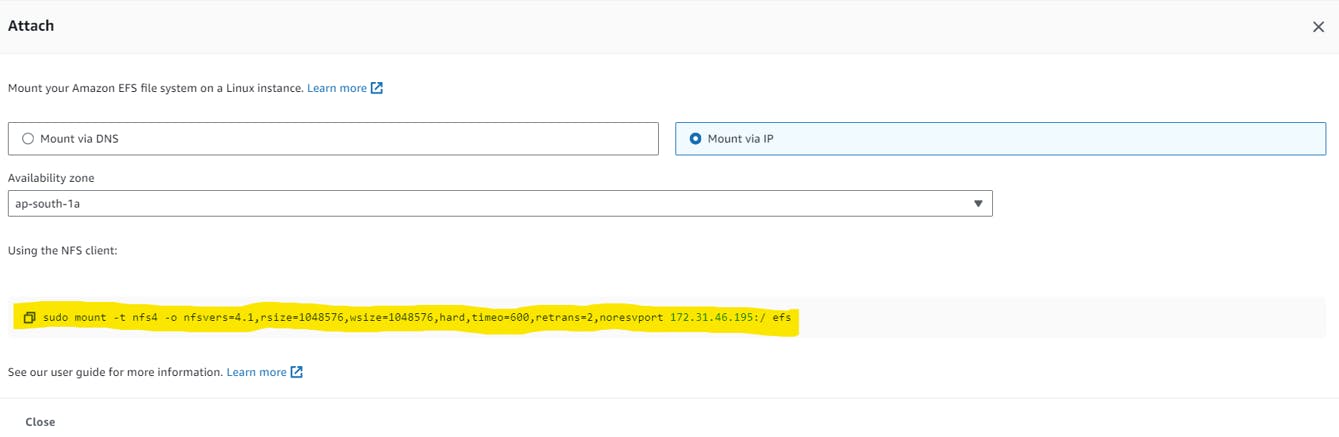
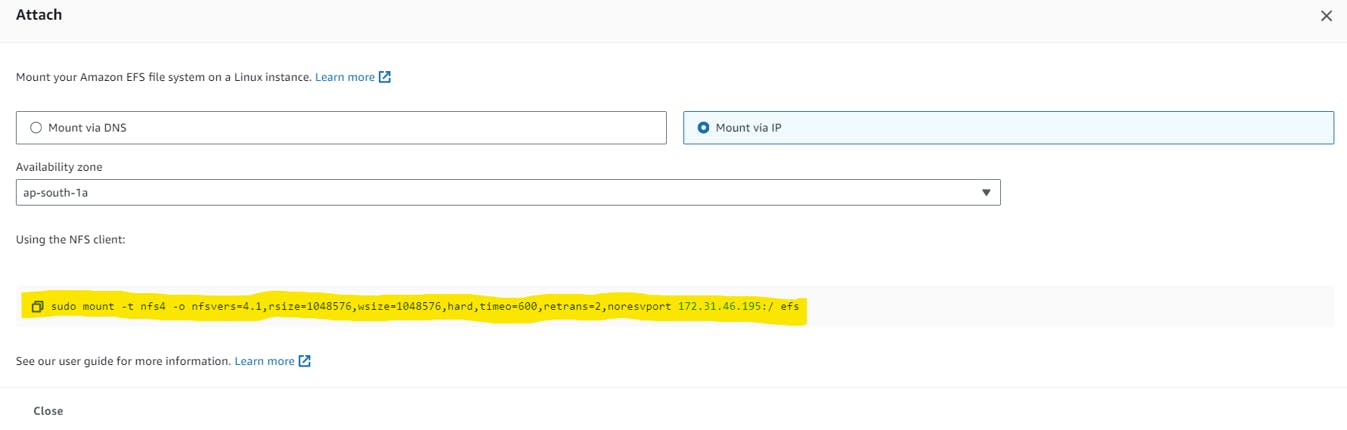
Step 4: Mount EFS
Go to EFS > Attach > Mount using IP > Copy the path > paste in CMD > Enter

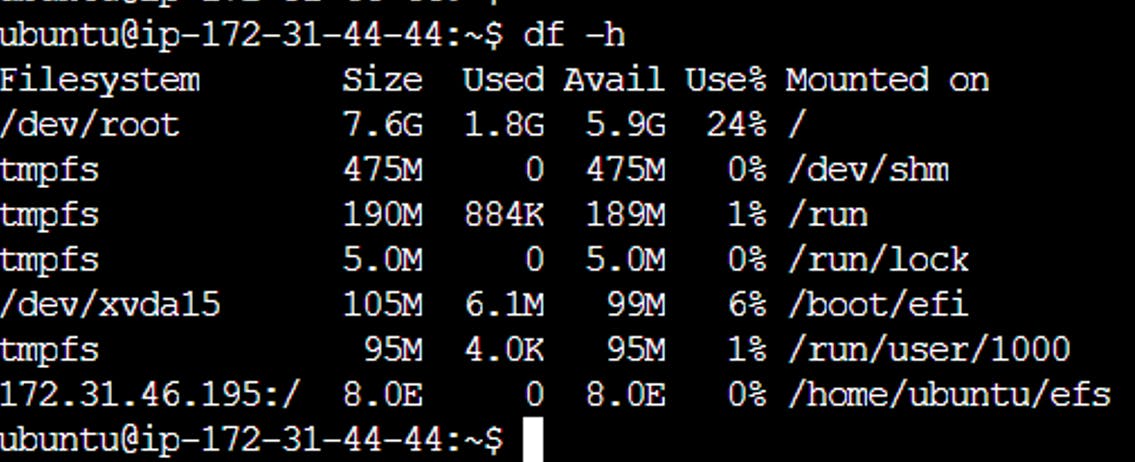
This command provides a detailed report of your system's disk space usage, including total space and available space. (-h stands for human readable format)
$ df -h

Create a AWS instance with Ubuntu AMI.
Steps:
Launch instaces
Provide instance name
Select Amazon machine Image as Ubuntu(make sure you are selecting the free tier)
Architecture(64-bit(X86))
Select the instance type t2.micro (Free tier)
Generate a new Key pair (RSA > .Pem)
Network Settings (default)
Configure Storage(Default)
Launch Instance.
Go to Instance ID > Security > Select Seciruty Group >Inbound Rules > Edit
Inbound Rules >Delete existing rule
- Add New rule >All Traffic > Anywhere-IPV4 > Save Rules


Connecting to the instance
1. Select the instance > Connect to instance >EC2 instance Connect > Connect
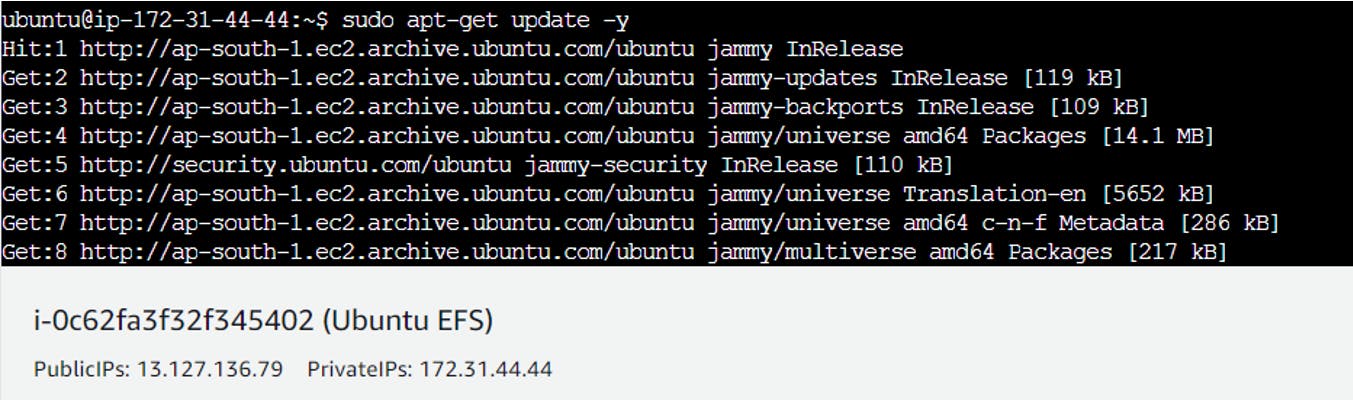
$ sudo apt-get update -y
Step 1: Downloading and Installing
APT package manager is used to install nfs-utils package. “nfs-utils” includes all the needed services to build your NFS server.
$ sudo apt install nfs-kernel-server
Step 2: Enable and Start NFS Server
Start the nfs-server and enable to make them bootable on the next reboot
$ sudo systemctl enable --now nfs-server

Step 3: Shared directory
Create a directory
$ mkdir EFS

Step 4: Mount EFS
Go to EFS > Attach > Mount using IP > Copy the path > paste in console > Enter

This command provides a detailed report of your system's disk space usage, including total space and available space. (-h stands for human readable format)
$ df -h
Create a AWS instance with Amazon Linux AMI.
Launch instace
Provide instance name
Select Amazon machine Image as Amazon Linux(make sure you are selecting th efree tier )
Architecture(64-bit(X86))
Select the instance type t2.micro (Free tier)
Generate a new Key pair (RSA > .Pem)
Network Settings (default)
Configure Storage(Default)
Launch Instance.
Go to Instance ID > Security > Select Seciruty Group >Inbound Rules > Edit Inbound Rules >Delete existing rule
Add New rule >All Traffic > Anywhere-IPV4 > Save Rules

Connecting to the instance
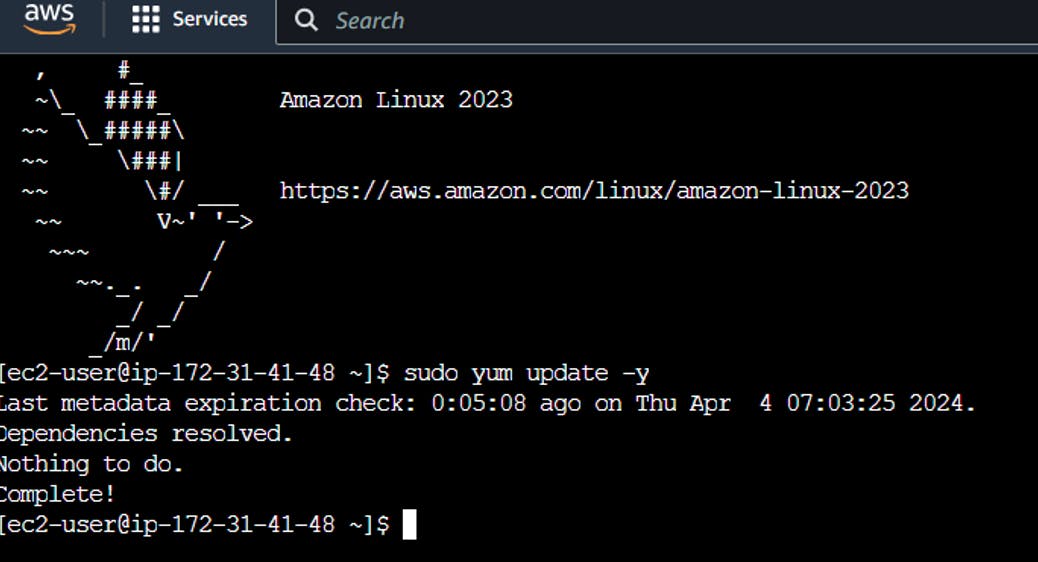
Select the instance > Connect to instance >EC2 instance Connect > Connect
$ sudo yum update -y
Step 1: Downloading and Installing
Yum package manager is used to install nfs-utils package. “nfs-utils” includes all the needed services to build your NFS server.
$ sudo yum install nfs-utils -y

Step 2: Shared directory
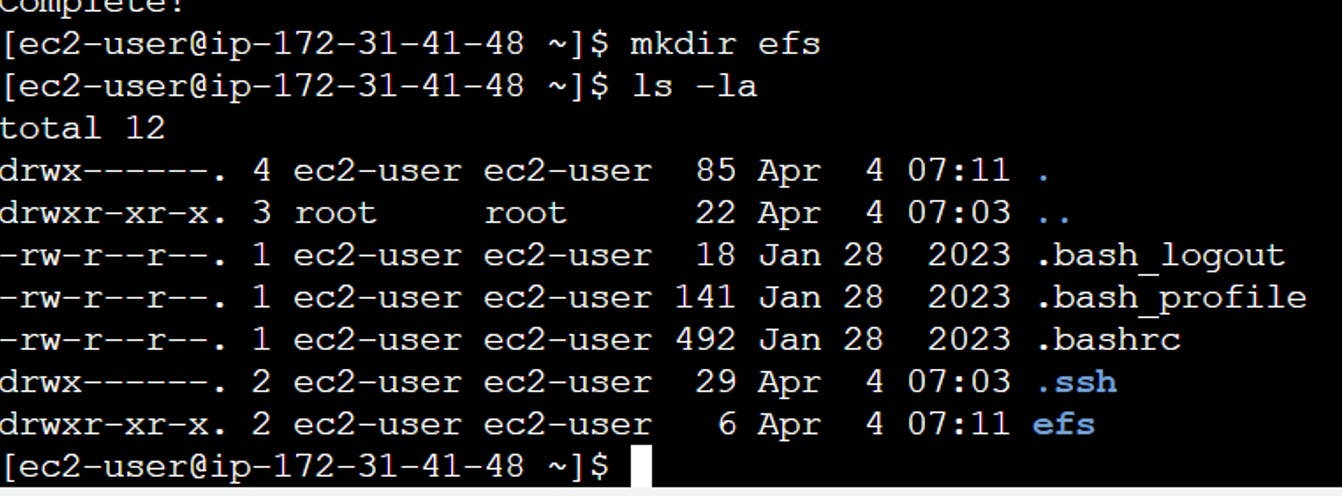
Create a directory
$ mkdir EFS
Step 3: Mount EFS
Go to EFS > Attach > Mount using IP > Copy the path > paste in console > enter

This command provides a detailed report of your system's disk space usage, including total space and available space. (-h stands for human readable format)
$ df -h

Thanks for reading 😃
If you found this article helpful, please like, share, and follow me for more posts like this in the future.
I would love to connect with you athttps://www.linkedin.com/in/vivek-patil-17a2a188/